hello!
Felicity here today to share with a little step by step on what I did with the Cupcake from February.
As you would know its filled with lots of Heidi Swapp Memory planner goodies.
I thought it was very appropriate for me to start on my teal memory planner that also turned up around the same time as my kit.
Perfect timing perhaps.
Inside the front cover I put a few bits and bobs like those alphas from the kit, which are ready for me to add to my pages. This planner is one that I am using as a
'visual' diary. So it will be quick entries and lots of journaling. I guess its a bit like showcasing the highlights from the day. So this planner actually sits beside my bed. So I want a few bits and bobs there ready to add a little embellishing when I document in my planner.
I used a fair few punches with the papers. They make really good accents throughout.
I created this little pocked from two sheets of paper from the kit. It allow me to pop in memorable from the month or little tags I have created ready to pop in my planner.
To make the pocket all I simply did was fold and score one piece of paper in half. Then I scored and folded a second piece of paper and cut a diagonal. Adhere the sides with glue and wa-la!`
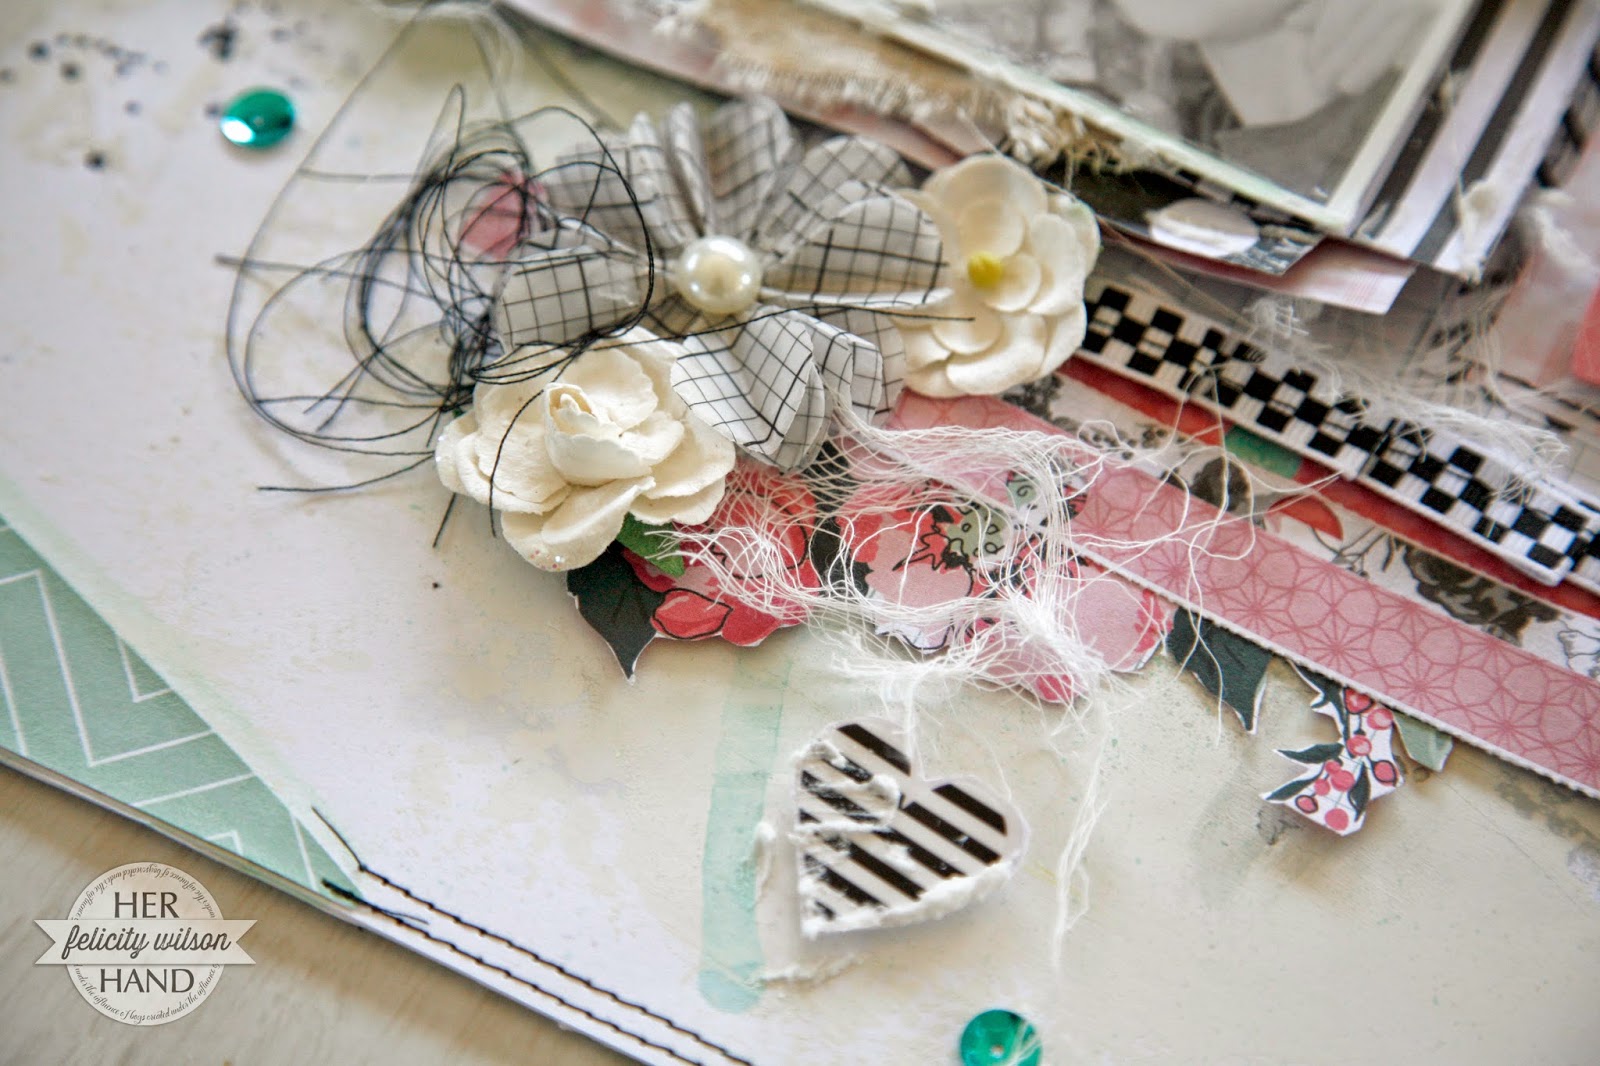
The sheet of stickers in the kit, I backed on white cardstock which allowed me to then 3D them, to take away the flatness.
I did a little machine stitching before sticking in the papers to add a bit more interest.
I also cut little squares and embellished again with the stickers of punches.
I added the photos which I prepared in the App 'Collection'. It has the date and allows me to type a little journaling on the photo. Makes the photo look tidy and neat in my planner.
Lastly at the end of the month I added this little envelope from Heidi swap memory planner collection. I can pop more little memorable or some hidden journaling.
Its amazing what opportunities this kit gives.
I love it!!
I hope this little tutorial helps you to think a little 'outside the square' when you create with you kit.


