A Piece of Cake Designs A Piece of Cake Designs home FAQs view cart

Saturday, 28 February 2015

Digi Store Saturday ... Natalie May


 Oh My Giddy Aunt .... Have you seen the NEW February Cut files over in the shop?

I am soooo IN LOVE with all of them ... in fact ... I have been cutting up a storm in the last 24 hours and be prepared to be flooded with these great files over the next month.

They are soooo versatile and will go PERFECTLY on just about everything I'm thinking.
 

So to start with, I used the NEW February Main Kit that has just gone live 
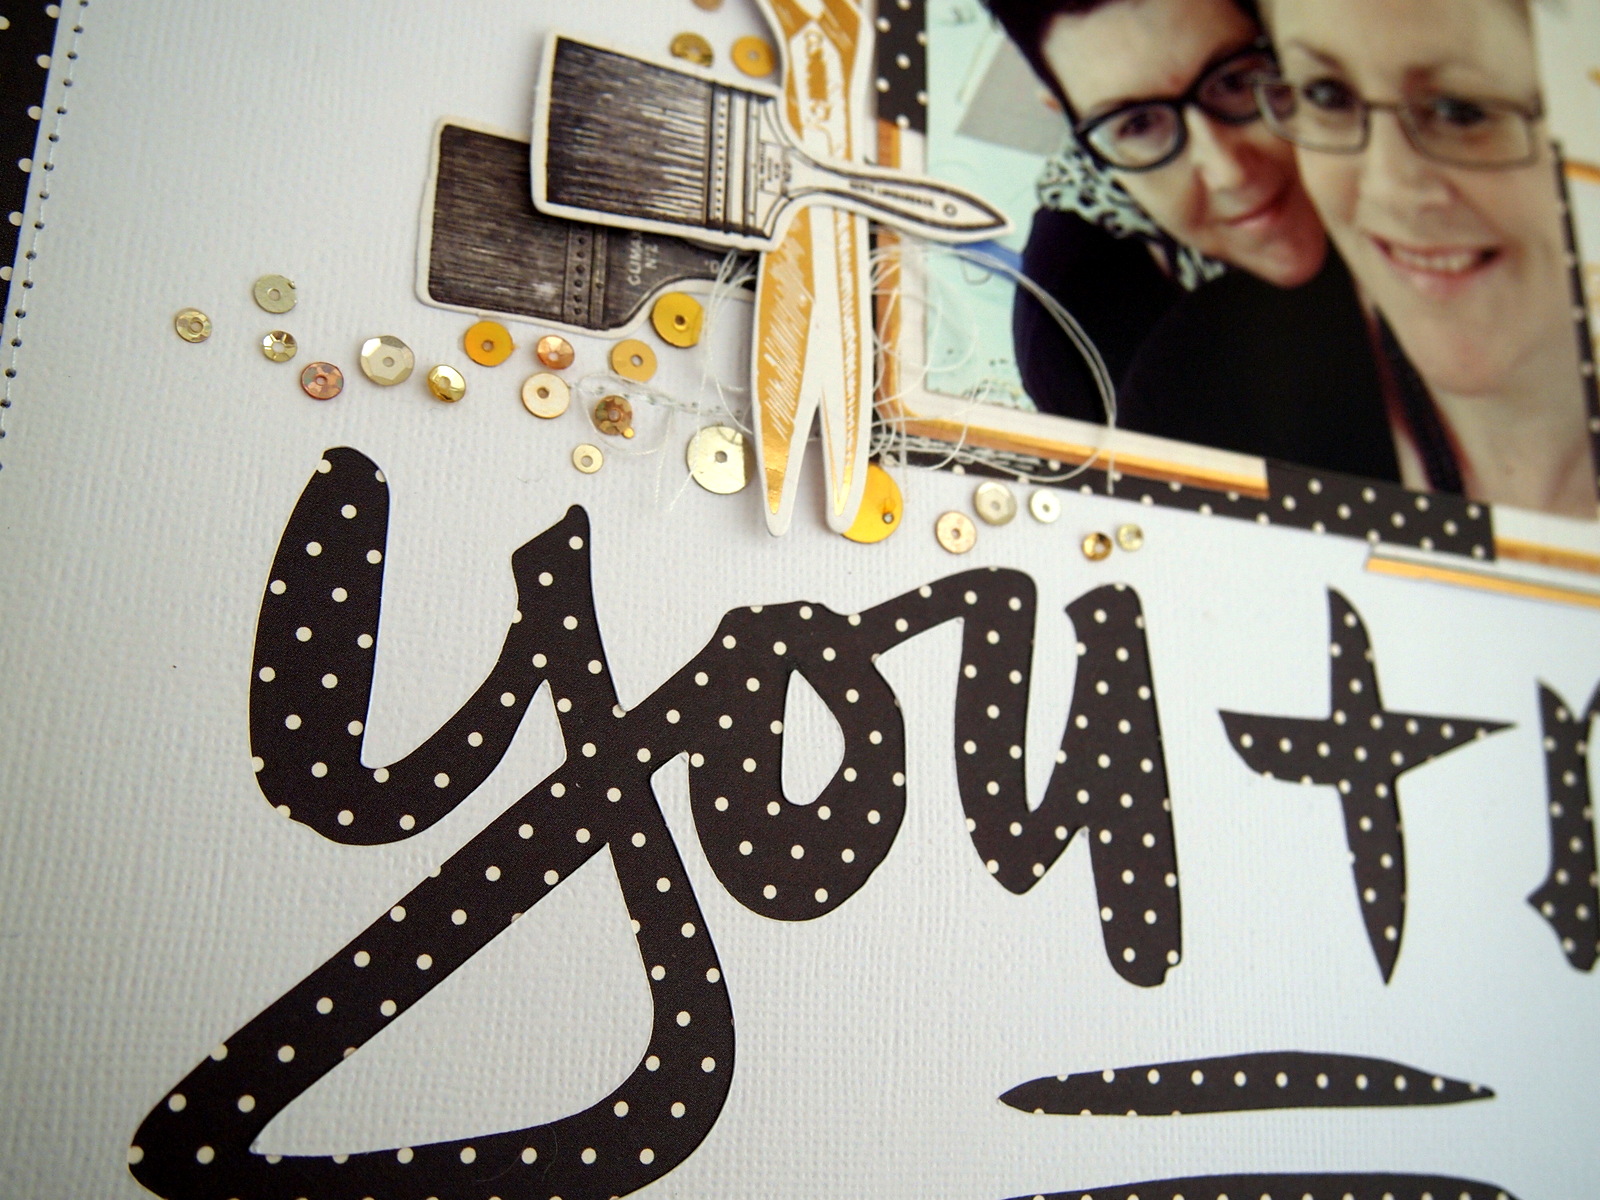
to create this quick page of Miss Louise and Myself!


Lou and I have been "scrappy besties" for over 7 years and I think 
she's all kinds of awesome so this cut file was right on the money!

I used the cardstock from the kit and the spot paper plus a few of the gold die cuts 
from the Crate Paper Ephemera Pack!

I added in some sequins from my personal stash and a little stitching around the edges!
Simple and effective!


Thanks for stopping by
xxx


Friday, 27 February 2015

FRIDAY FAVOURITES: Birthday card - Anna Allan...


Hello there APOCD fans!
I'm just dropping in to share a very quick and easy card I created.
Now, FYI - I am such an awkward card maker. It just does not come naturally to me I'm afraid! 
BUT I have made a goal this year to create at least one card a month. The theory being that practice makes perfect right!?! Let's hope so.

So without further ado - here is my card I've made using the January Main Cake Kit.


My favourite thing about kits is that they are so versatile!
And I ALWAYS love ephemera packs - they are just such good value because you get so much out of them. And they always have just that perfect little piece that adds that extra bit of goodness that you need!


From the kit, I have used some of the awesome Dear Lizzy 'Serendipity' patterned paper cut down to 4x6" for my background. I have then added the doily and layered that with some pieces from the ephemera pack and added the text stickers over that. 
Very simple design really - which is just the way I like it!


Thanks for dropping by.
The design team have the February kits in our hot little eager hands so you still start seeing our creations with them. YAY!
See you again soon.

Anna :-)


Thursday, 26 February 2015

Thoughtful Thursday - Mini Album with Felicity


Hello!

Happy Thursday! A very exciting Thursday because its release night here at APOCD. You are going to love this month main and cupcake kits. Make sure your around to purchase your kit tonight, because I don't think they will last long.

I wanted to pop by today and share with you a little mini album I created using January Cupcake kit. I wanted to document the start of big school for my eldest son. I had a few photos and memories that I wanted to documents through out Term 1.
I created this album with old book pages as my base, putting Gesso on each page first. I then have used masking tape to old the book together. This method also allows me to add more pages during the year of the highlights my son has at prep.

All the paper and embellishments are from the kit.


This page I wanted to created a few flaps. I wanted to add a little more interest to the album and stop it looking so 'flat' without bulking the album up to much.


These next few pages, I have pre-prepared as I have photos I want to add and even some of his Art work from the first few weeks.


Hope this inspires you today to create a little mini album.
I love the memories and photos a mini album can hold.

Sunday, 22 February 2015

STORE NEWS SUNDAY - February Kit Release


We have a February Sale night now announced, that is this coming Thursday!


This is one week later than the usual release night, however some of you may be aware of the Dock strikes in the US. This has had a big impact on scrapbooking products and has held up some of the products in the February kits so I had to be flexible and push the date back a little. Apologies for that.

I am so excited about the upcoming kits, they contain all the latest CHA products and are truly scrumptious.

Here is a little peek into what they contain….think these are my new favourite (though I think I say that every time).


In others news we have opened a Facebook Group the 'APOCD Cafe' for our followers. Its a place to share your creations, ask for or give advice and chat about all things scrapbooking and APOCD. Basically a little community where we can all gather. I have a little something (possibly a giveaway and competition) up my sleeve for those that join. You can find the direct link to the page by clicking the image below.

Whether you join now or after the giveaway is announced, you will still go into the running to win :)

Stay tuned for some more kit images and inspiration from our Design Team

Raquel x

Friday, 13 February 2015

FRIDAY FAVOURITES - Guest Designer; Jodie King


with


Hello, Happy Friday, and welcome to Friday Favourites! It's Jodie with you today with my third project using the gorgeous January Cupcake Kit.

Does anyone else have trouble getting their man in front of a camera? Mine really does not like his photo being taken, and so rarely makes it into any of my scrapbook pages. I snapped this pic while we were at lunch on a recent holiday and I think it's kinda cool. So he finally gets to have a layout (probably the first ever) featuring just him, hence the title Hello Handsome.


Some of my very favourite pieces from this kit are the woodgrain and navy striped papers, the navy embellishments ('best ever' and 'that was so fun' tags), the gorgeous flair buttons, the cloud die cut, and the die cut shields. I've also saved the scraps of my favourite yellow polka dot paper from my last project, and seriously, who doesn't love a turquoise doily!

Hello 2015 is one of my favourite digi files from the Digital Shop January Releases and I've used it both as part of my title and as a background layer for my layout.


I duplicated the word 'hello' from the digital file into a grid pattern on a Silhouette Studio page, and cut it on my Cameo from white cardstock. After trimming it to size I adhered it to another piece of white cardstock and machine stitched the edge in white thread. By using all white products it adds visual texture to the background without becoming too busy for the other bright colours used in the layout.


There are quite a few black & white doodling elements to the My Minds Eye Jubilee Tangerine collection, including this smaller shield. To cut back on some of the busyness of the geometric lines, I've used my Mango Gelato from the kit with a watercolour brush to colour parts of it in.

The antler flair is just delicious and I've used it to reinforce the masculine feel to this page.

To build the title I've used one of the 'hello' scripted words that was left over from creating the background, and simply recoloured it.


One of my favourite things to do on a layout is to fussy cut.. I'm always looking through patterned papers to see what I can cut out. Once I had tucked in the cute cloud die cut, of course I needed to cut some hot air balloons from one of the 6x6 papers.


Even after three separate projects there's still so much product in my Cupcake Kit. The only things in this layout not included in the kit are white and blue cardstock, a few enamel dots, some twine and a tag that was a piece of memorabilia from our weekend away.


And that brings to an end the sharing of my Guest Designer projects at A Piece of Cake Designs. I'm so thrilled to have been creating with the Cupcake Kit this month, and can't thank Raquel enough for having me along.

The kits are always perfectly coordinated and have such a great mix of papers, embellishments and exclusive flair. Can't wait to see the February kit sneaks!

Jodie

Tuesday, 10 February 2015

Tutorial Tuesday with Felicity - Love tag and box


Hello !

With valentines day this weekend, I thought it would be fun to share with you a quick little step by step on how to create this little tag and box. I took me 10 mins at the most.
 

Step 1:  using the tag in the December kit as my base, I then cut out a piece of paper just a fraction smaller and the border from one of the papers with 'xxx'

 Step 2: I then machine stitched these to the tag
 Step 3: I then embellished my tag.
TIP: for any stickers I use, I always stick them to white cardstock and then cut out around them, so I can move them around as I find placement.

 Step 4: I then cut different size widths of paper. I wasn't to worried about them being straight, as you will see in the next step.
 
 
 Step 5: I then layed them and stuck them all together

 Step 6: I adhered the stripes to the box and then layed a doily on top.

Step 7: Add your tag to the top and piece of calico fabric tied as a bow and your done.

 
Something cute and easy.
I plan to fill this with little notes and homemade biscuits on Saturday!
Happy Valentine crafting :)
XO

 
A Piece of Cake Designs Blog, All Rights Reserved
Blog Theme by Mod Melon Creative